

Miniapp Creation
Miniapps are sandboxed HTML apps that live inside the Upside dashboard. They can query live customer data via SQL and render widgets, reports, or interactive tools that you share with your team. There are two supported authoring paths: the Upside MCP (for any MCP client connected to Upside) and the in-app agent (the agent built into the dashboard).
What you'll build
A hosted miniapp:
- Lives inside the dashboard, sharable with your org
- Can use the MiniApp SDK to query live Upside data
- Supports versioning (open → sealed → active)
- Previewable via deep links before promotion
Ask for "live" explicitly. The agent won't always default to a live app — especially for deep-research / deep-dive style requests, where it often builds a standalone (static) app instead. Tell it something like "make this a live app connected to my Upside data" to get a hosted one.
Path 1: Creating a Miniapp via the Upside MCP
You don't write code or call tools yourself — describe the miniapp you want in plain English to your MCP client, and the agent handles the build for you. It creates a workspace, writes the HTML, wires up the SDK to query your live data, and registers versions on your behalf.
1. Describe what you want
In your MCP client, tell the agent what to build. For example:
2. Review the preview
The agent creates an open (preview-only) version of the miniapp and gives you a deep link of the form:
https://app.upside.tech/apps/{mini_app_id}?version_id={version_id}
Open the link to see what the agent built.
3. Iterate
Tell the agent what to adjust — chart type, colors, filters, copy, layout. It updates the open version in place. Refresh the preview after each round and keep going until you're happy.
4. Approve and promote
When you're satisfied, ask the agent to seal and promote the version. The miniapp moves from open → sealed → active and becomes visible per its sharing settings.
Editing an existing miniapp
To update a miniapp that's already live, tell the agent which one to change. It imports the current version into a workspace, applies your changes, and creates a new open version for you to preview before promotion.
A note on sharing
New miniapps default to creator_only — only you can see them until sharing is updated. Ask the agent to grant view/edit access, or update sharing from the miniapp settings.
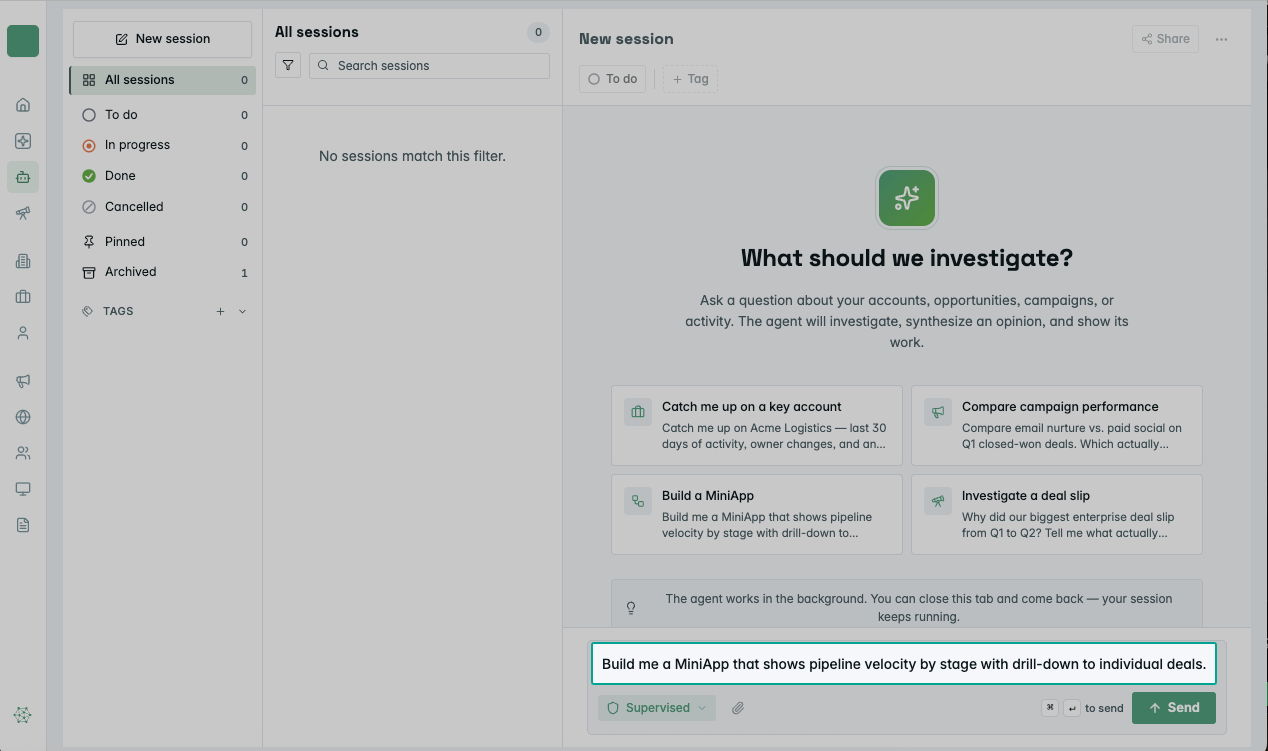
Path 2: Creating a Miniapp via the In-App Agent
You can also prompt the in-app agent inside the Upside dashboard to build a miniapp for you — describe what you want and the agent will create one that renders in the dashboard, just like the miniapps from Path 1.
Lifecycle reference
Before you start
You'll need:
- An MCP client connected to your Upside org (for Path 1) — e.g., Claude Desktop, Cursor, or Claude Code
- Or access to the Upside dashboard (for Path 2)
- Permission to create miniapps in your Upside org — ask your team lead if you're not sure