

Custom Channels
Use Custom Channels to compare performance across your custom taxonomy, inspect an individual channel, and control how touchpoints are classified.
Custom Channels are in the process of being implemented throughout the product. Keep an eye out for any updates to this page!
Custom List View
Use Custom List View to scan all custom channels, compare results, and open the channels that need more detail.
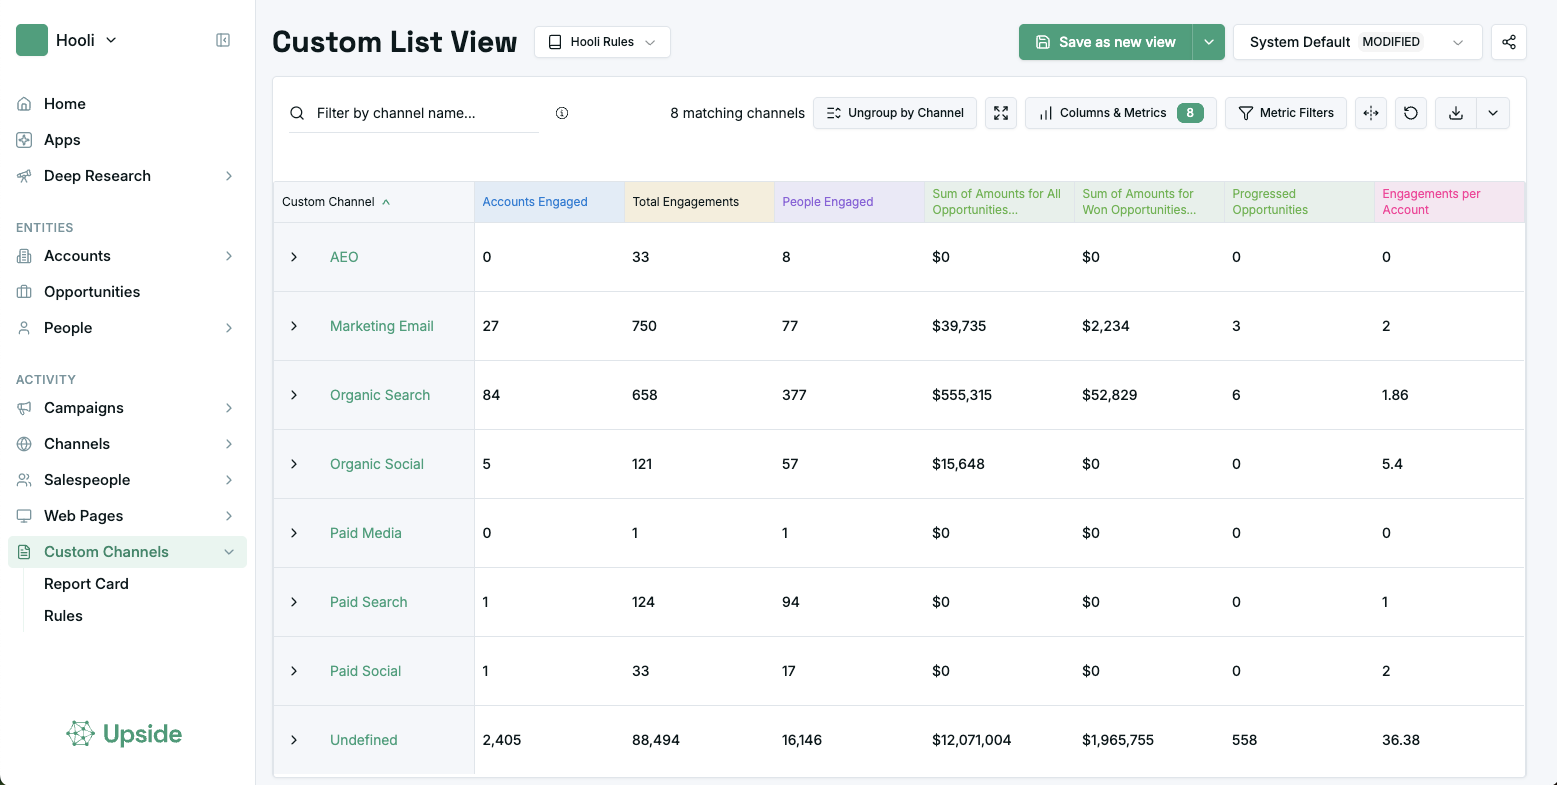
What you can do
- Filter results from any column header.
- Show or hide columns and metrics to focus the table on the data you care about.
- Click any channel name to open its Report Card.
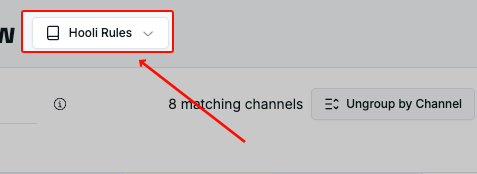
Apply a rule set
Use the Rules dropdown to apply a Rule set to the data based on the operational parameters you want to analyze.

Break down sub-channels
Select Ungroup by Channel or Expand all sub-channels to split each channel into its sub-channels (finer-grained buckets beneath a custom channel).
Report Card
Use Custom Channel Report Card to inspect one selected channel and, if needed, narrow the view to a single sub-channel.
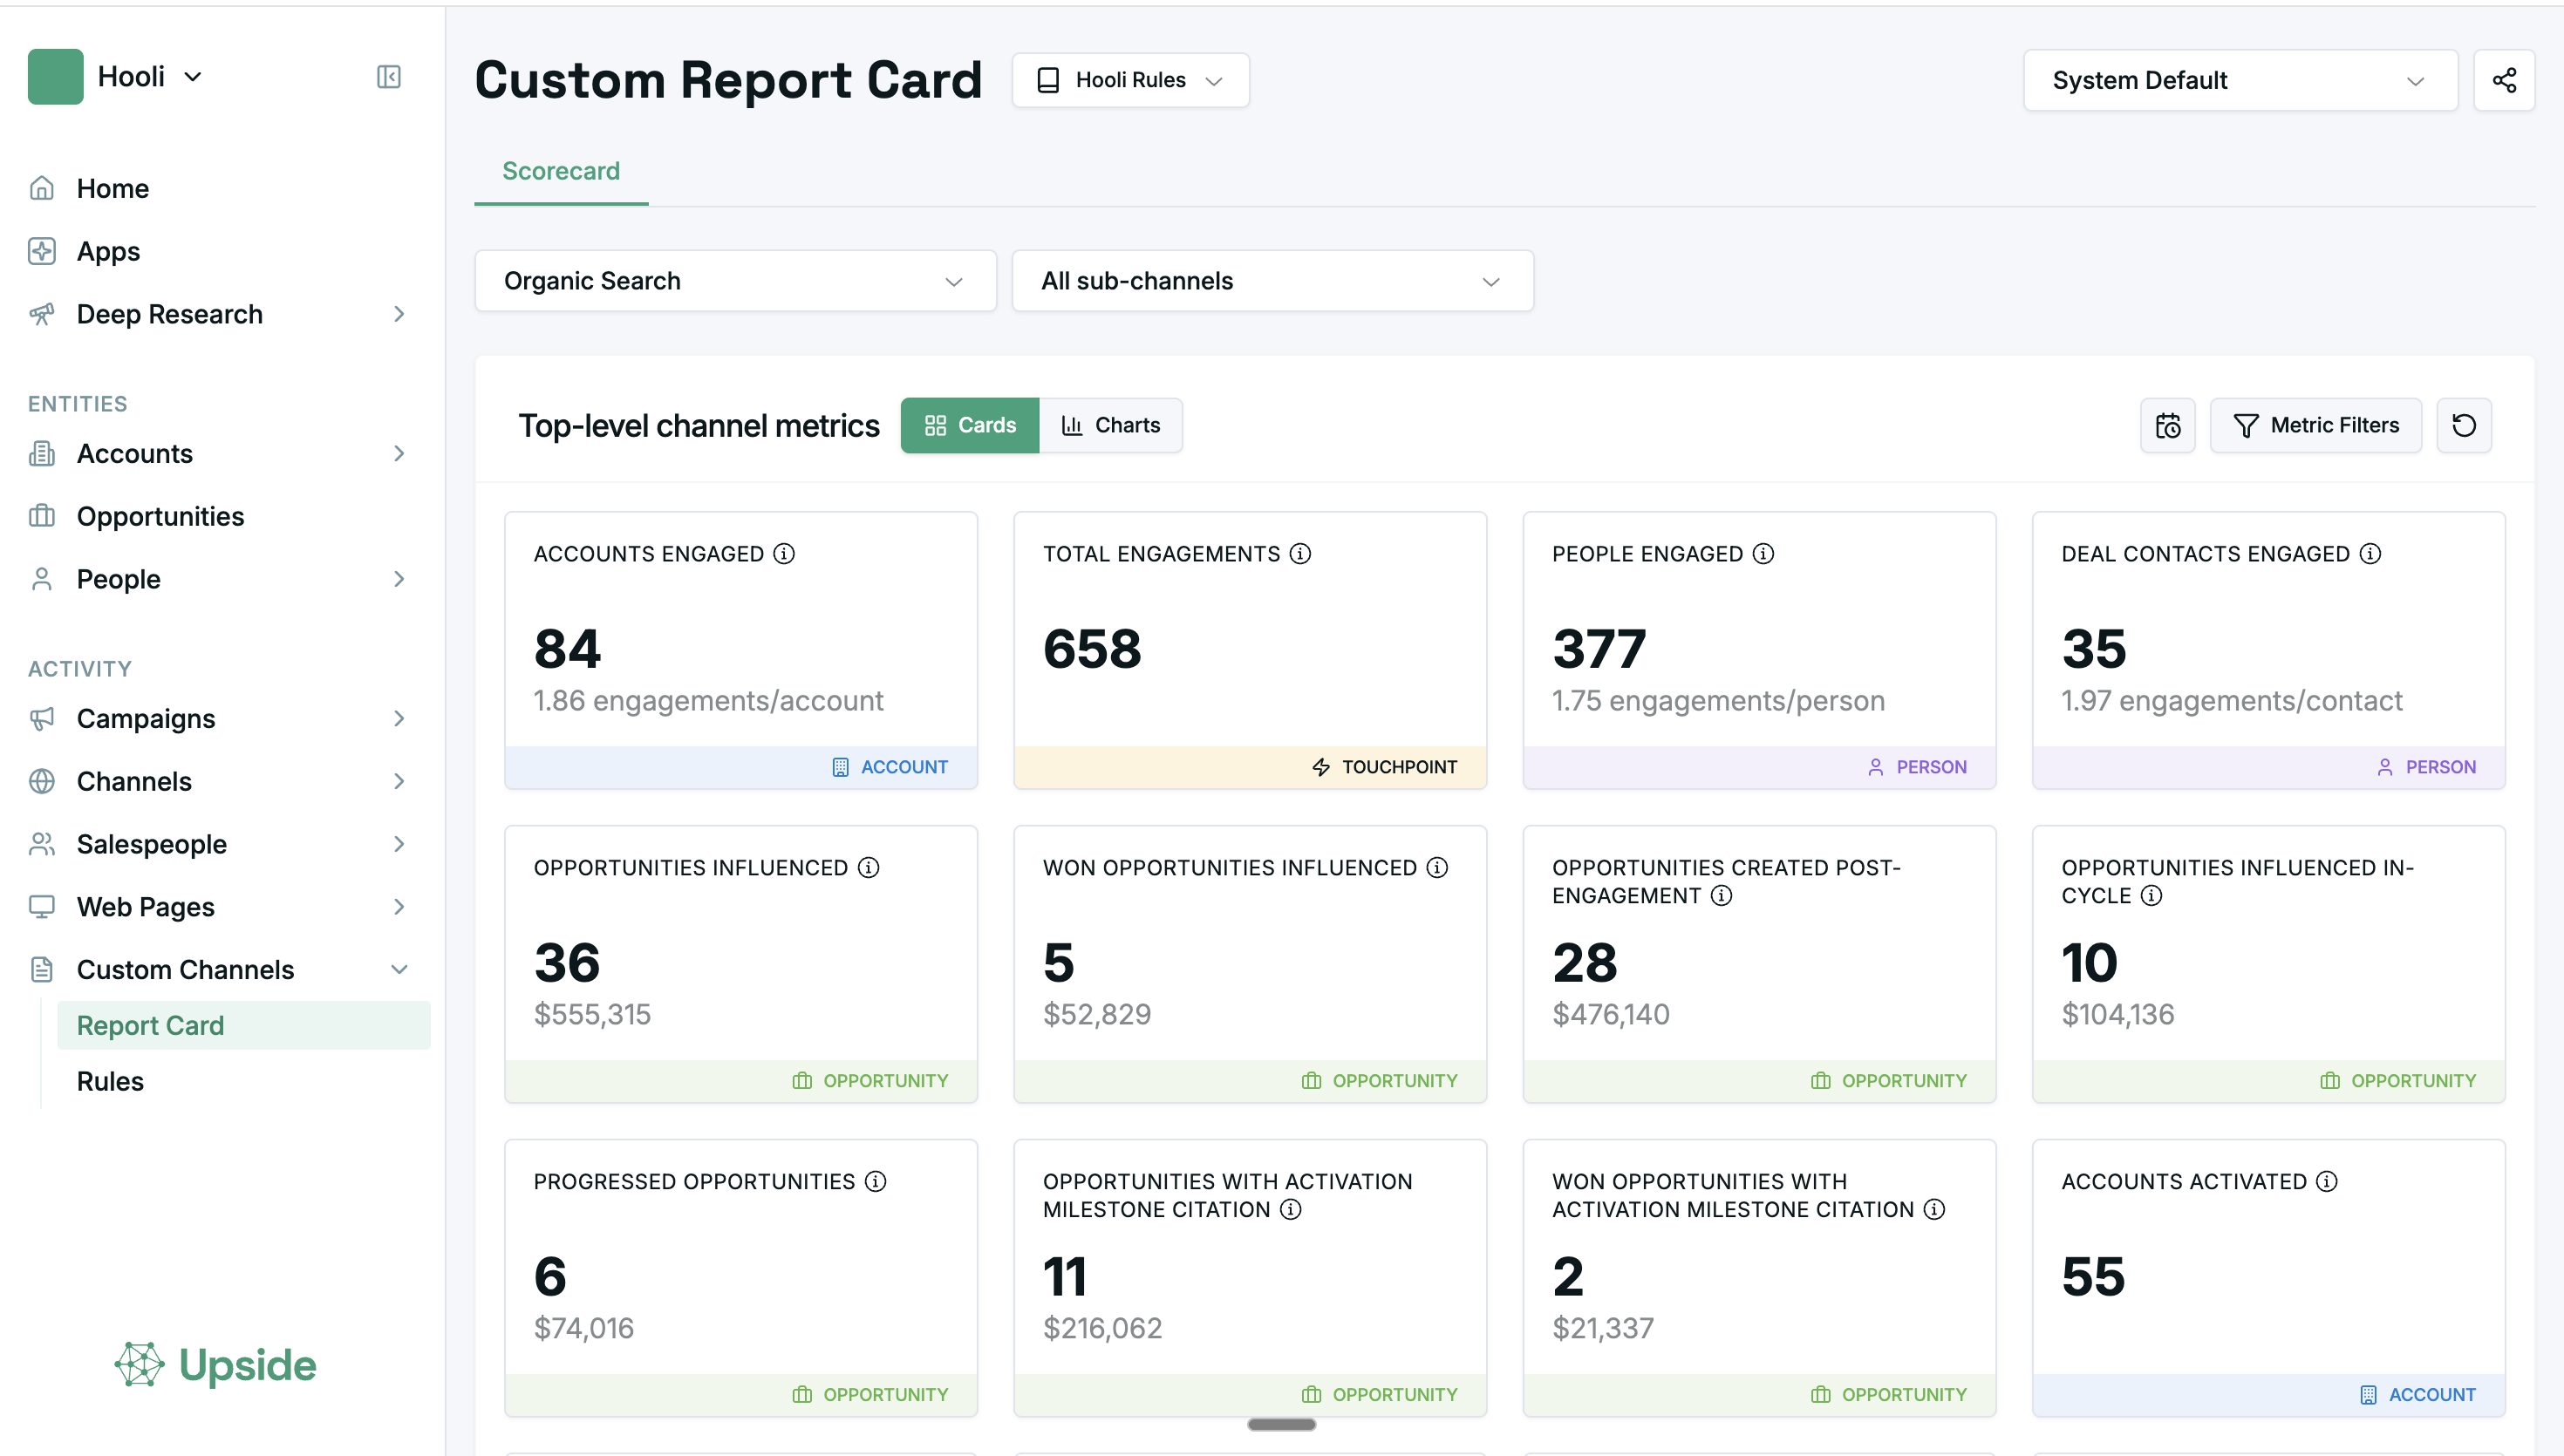
What you can do
- Drag cards into your preferred order.
- Filter displayed metrics by Account, Opportunity, and Touchpoint timestamp range.
- Focus the page on a single sub-channel for a narrower view.
Rules
Use Custom Channel Rules to define how touchpoints map to your custom channels.
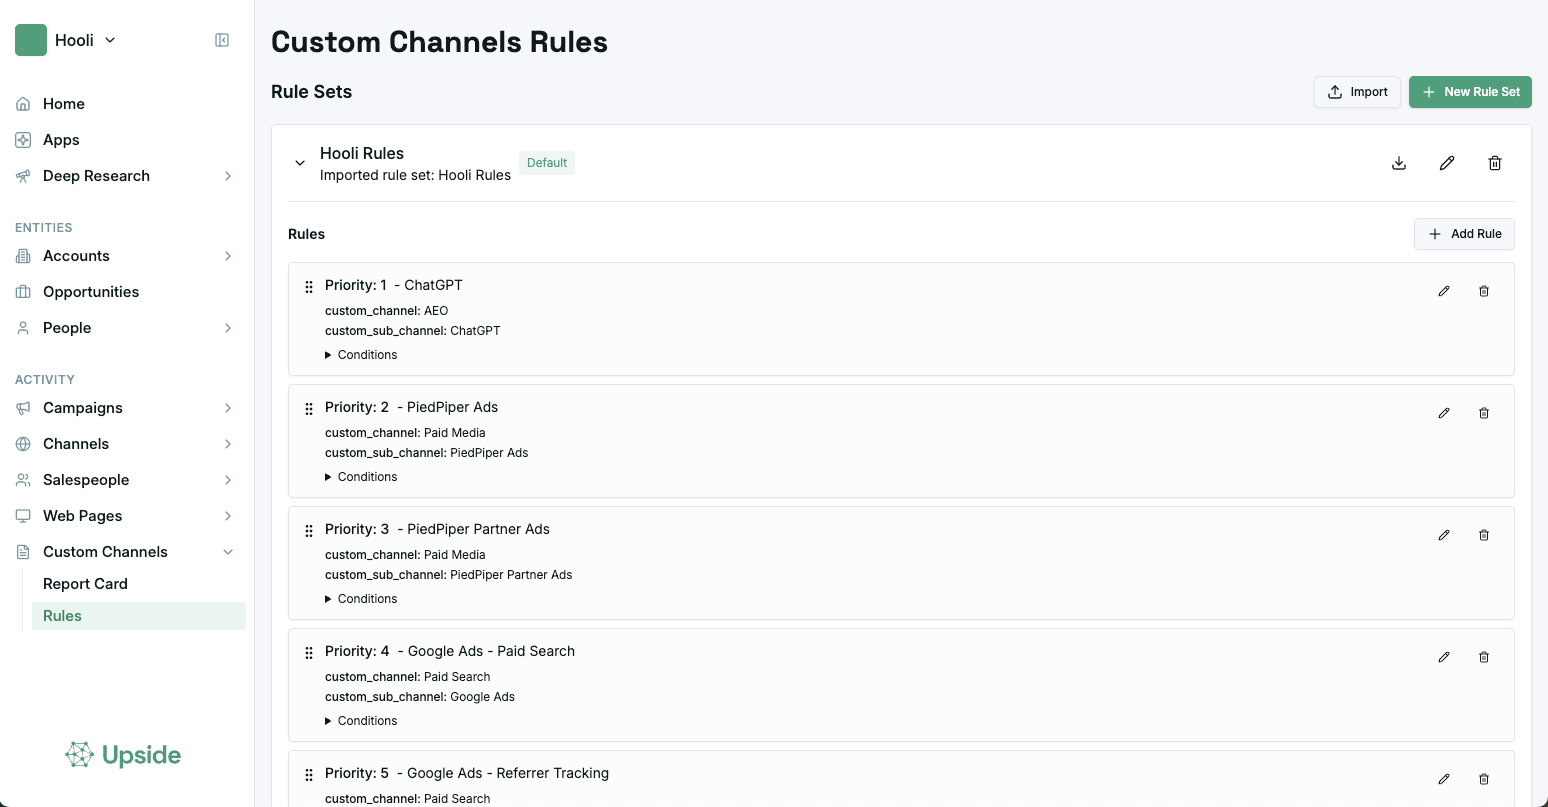
What rule sets do
- View all rule sets in the organization.
- Toggle a rule set to inspect the rules/conditions inside it.
- Keep related rules together in a rule set (a collection of rules for tagging custom channels).
How matching works
- A rule assigns a matching touchpoint to a named custom channel.
- Rules combine AND and OR conditions over a fixed set of touchpoint fields.
- Example:
UTM source contains LinkedIn AND UTM medium = CPC → LinkedIn Paid
- Example:
- Rule editing permissions are separate from rule viewing permissions, so a small group of owners can manage rules while the wider team uses the resulting reporting.
Rule sets are hermetic: each rule belongs to exactly one rule set and is prioritized sequentially only against the other rules in that set.
Create or import a rule set
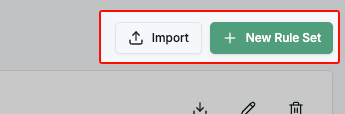
- Import a rule set from a JSON file with Import.
- Create a new set with New Rule Set.
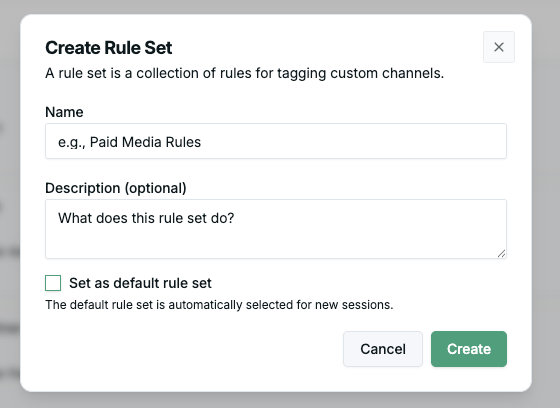
- Click New Rule Set.
- Add a name and description.
- Choose whether the set should be the default.
- After the set is created, click Add Rule to add or edit rules.
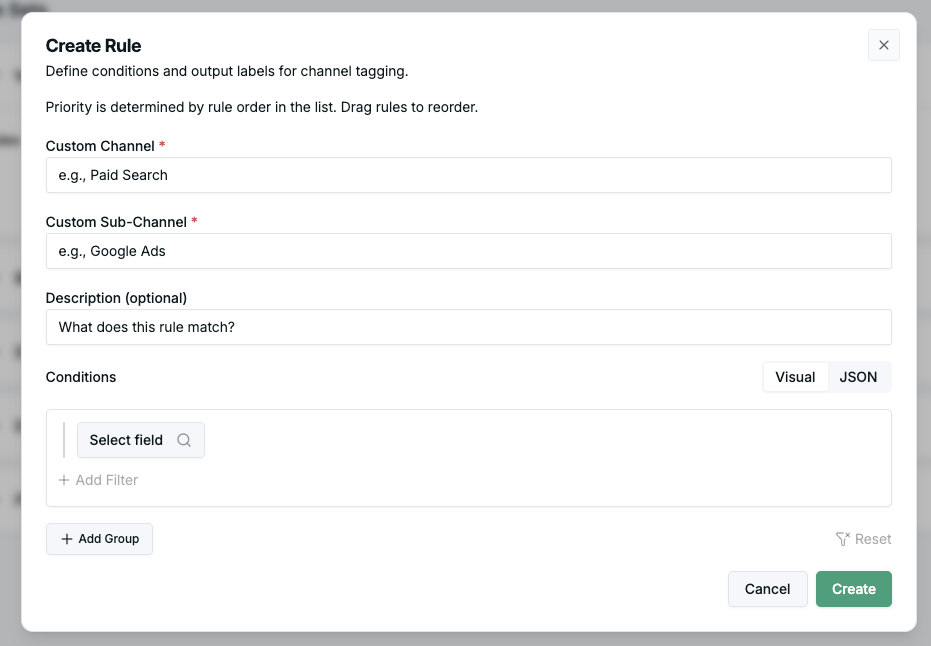
Available fields when adding a rule
Touchpoint fields
- Timestamp
- Referrer URL
- URL
- Page Type
- Web Session
- Channel Status
UTM fields
- UTM Source
- UTM Medium
- UTM Campaign
- UTM Content
- UTM Term
Campaign and record fields
- Record Type
- Channel
- Campaign Name
- Campaign Type
- Campaign Start Date
- Campaign End Date
- Campaign Source Record Type
Rule sets can be exported as a JSON file. Try to feed them into the Upside MCP to answer custom business questions!